...
| Panel | |
|---|---|
On this page:
|
Introduction:
This documentation page covers installing and using the PayFast payment plugin on Bubble.io.
1. Add the plugin to your bubble.io app
Open your Bubble application and navigate to the Plugins tab. Click ‘Add Plugins’ and install the plugin:
...
2. Add the PayFast element to your bubble page
Open the Design Tab of the page where you would like to trigger the PayFast payment. Add/Drag the PayFast element onto your page.
...
| Info |
|---|
This is usually the last page of your checkout process (I.e Checkout page) |
3. Complete the element fields
Click on the PayFast element added to your page in step 2 and complete the fields below:
...
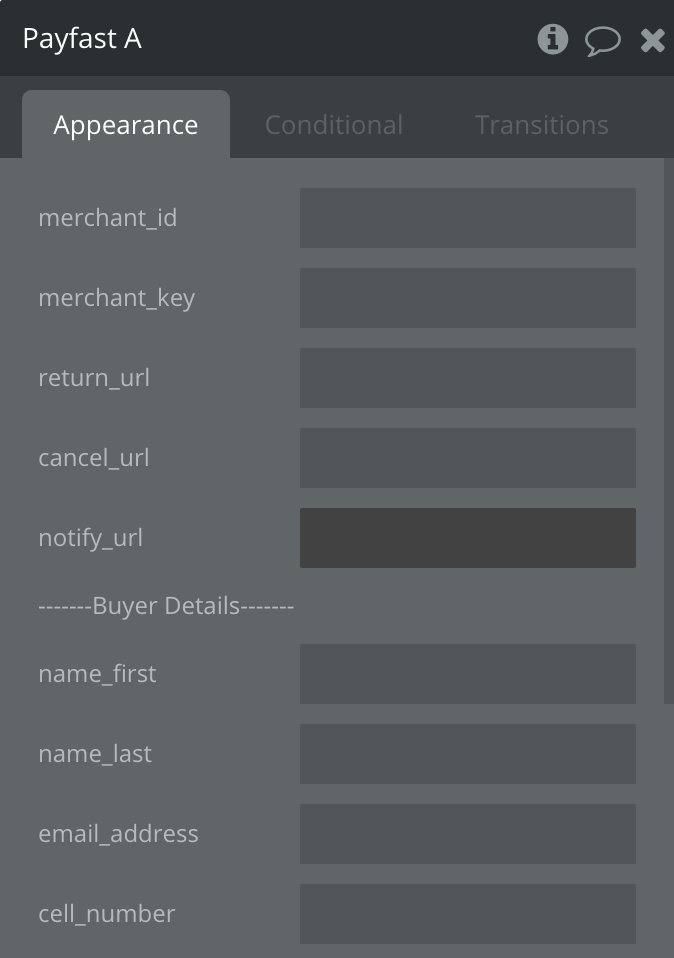
Field Name | Description | Mandatory | ||||||||
|---|---|---|---|---|---|---|---|---|---|---|
merchant_id | This is the merchant_id that can be located on the payfast.co.za dashboard under the Integration Settings menu. |
| ||||||||
merchant_key | This is the merchant_key that can be located on the payfast.co.za dashboard under the Integration Settings menu. |
| ||||||||
return_url | This is the url that you would like to return the user to should the payment be successful.
|
| ||||||||
cancel_url | This is the url that you would like to return the user to should they decide to cancel the payment.
|
| ||||||||
notify_url | Before PayFast returns your buyer to your app you can have transaction details posted to this url. View fields in the notify_url via this link: https://developers.payfast.co.za/docs#step_4_confirm_payment |
| ||||||||
name_first | This is the first name of the buyer. |
| ||||||||
name_last | This is the last name of the buyer. |
| ||||||||
email_address | This is the email address of the buyer |
| ||||||||
cell_number | This is the cell number of the buyer. |
| ||||||||
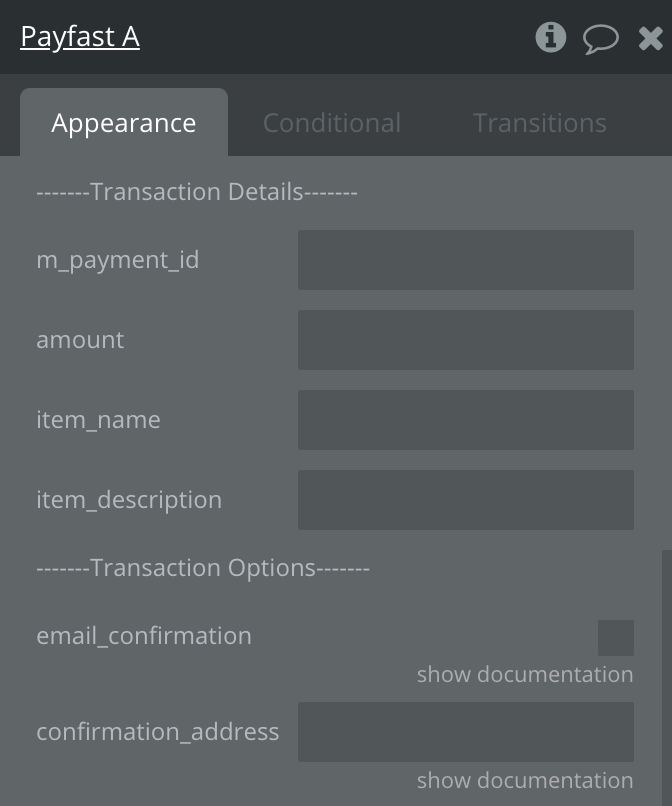
m_payment_id | This is the unique payment ID on your bubble app. |
| ||||||||
amount | This is the amount to be charged.
|
| ||||||||
item_name | This is the name of the item being charged. |
| ||||||||
item_description | This is the description of the item being charged |
| ||||||||
email_confirmation | Check this box if you want to send an order confirmation from PayFast to the customer. |
| ||||||||
confirmation_address | Enter the email address where you would like to send the order confirmation email from PayFast.
|
|
4. Add the action to the workflow
From the button that you would like to trigger the payment, click on ‘Start/Edit Workflow' and add the action 'Start Checkout Payfast’ to your workflow:
...
| Note |
|---|
This should be the last action in your workflow as the user will be redirected to PayFast for payment. |